Artificial Intelligence (AI) in DJing
Transforming
Track Discovery, Mix Production, and Self-Promotion

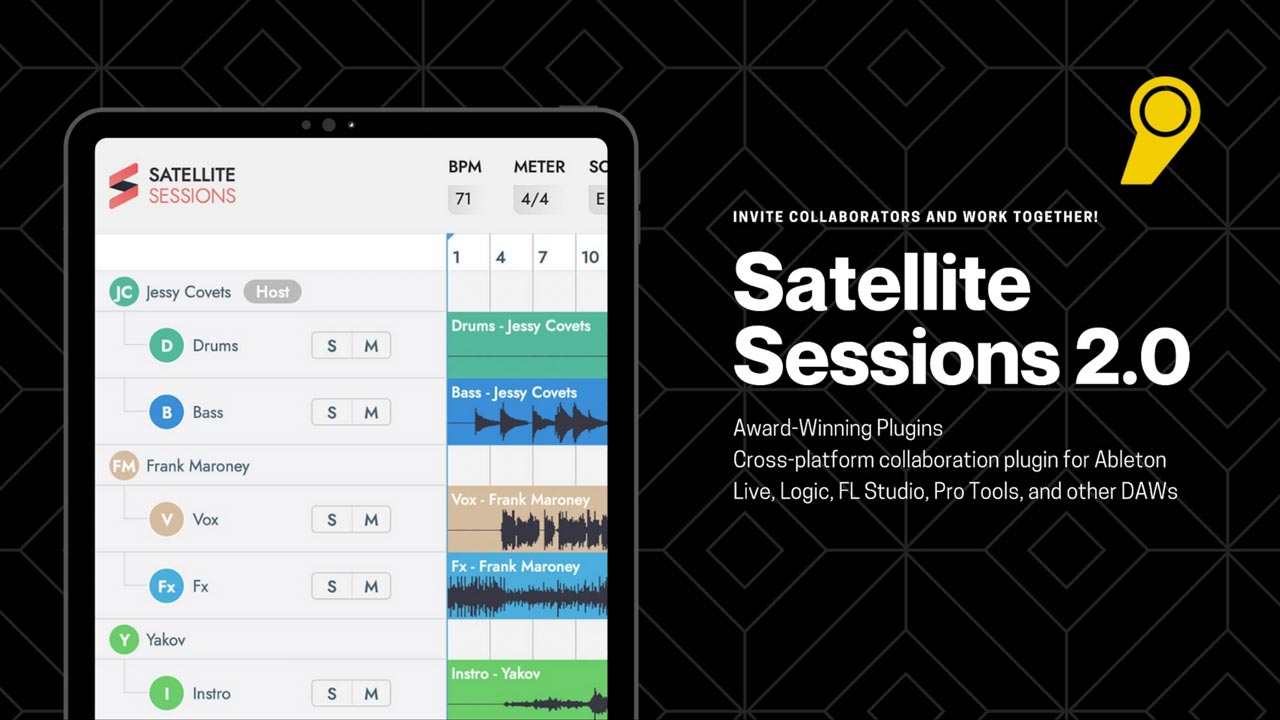
Satellite Plugins 2.0 is the new music collaboration software by Mixed In Key. This groundbreaking new tool is touted as the fastest way to collaborate on music with anyone, anywhere without ever leaving your front door.
In this blog, we’ll walk through this collaborative tool and show you how exactly you can work with artists across the globe from the comfort of your home. So you might want to grab a pen and take notes. Let’s get started!

Go to mixedinkey.com/satellite and download Satellite Plugin. You can pick between the Windows & Mac OS options based on your requirement.
Once you have the plugin, the installation process is fairly straightforward. All you need to do is:
We’ll be using Ableton for this demo.

Once you have Satellite Sessions as a VST or AU Instrument plugin on a blank new MIDI channel, you have successfully created a project hub! All audio & MIDI tracks that are shared during the session will be added here.
Every collaborator will be able to see and hear the exact same stems in their respective Satellite Sessions plugin.
Next, add Satellite Audio to any audio channel you want to share. Satellite Audio is record enabled by default, so make sure you don’t accidentally turn it off. You’ll know it’s on if the button is illuminated red.
The corresponding channel in Satellite Sessions will also be marked in red.
What this means is that the plugin will be able to receive any audio you play into your Satellite Audio enabled channel.
You’re all set-up now!
Pressing play on your DAW instantly starts recording the audio through Satellite Sessions. Goes without saying that pressing stop ceases recording in Satellite Plugins.
You can now start messing around and adding additional audio by adding Satellite Audio to the channel. This includes VST instruments and external devices. So you can play with synths, guitars, vocals and a whole lot more.
Let’s look at recording a simple chord progression played from an external audio channel.
Again, add Satellite Audio to an audio channel. Since we’re using an external audio channel, you want to make sure your DAW is set to input. Now go ahead and play your chord progression to record it.
You’ll notice that the plugin starts recording your chord progression as you start playing!

Now let’s get into the juicy bits!
You’re obviously keen to get started on collaborating with other artists. To invite a guest, click the ‘invite’ button on the top right corner of the plugin. You can enter the email ID of your collaborator and add their privilege level. Alternatively, you can also copy the session invitation ID and share it with them. Very similar to how you’d use share a Zoom meeting link.
Your collaborator can then use the session ID and get access to your project. They’ll now be able to download any stem from the session straight into their DAW! They’ll be able to make changes as needed and upload the new audio back to Satellite Sessions.
You’ll have access to the new version within seconds! You can download the new elements into your DAW. Just like that, you can successfully collaborate with another artist anywhere in the world in real-time.
Satellite has proved to be a useful tool for music collaboration. So much so, that they’ve not only got attention from artists but have also been featured as DJ Mags star product. It’s compatibility across softwares like Ableton, FL Studio, Logic Pro X, Cubase and more make it the most versatile tool available in the market.
You can get more information about the plugin by visiting the Satellite Plugins page on the Mixed In Key website. You can also download the plugin by clicking HERE.
There’s tons of ways you can use Satellite to collaborate. How are you going to use it? Let us know in the comments below!

Transforming
Track Discovery, Mix Production, and Self-Promotion

Masterclass with Queen & Disco, Stalvart November 28 @ 4:00 PM – 6:00 PM Venue: Register Now

Our top 3 MIDI controller recommendations for VJs
Ready to Get Started?
Leave us your details and we’ll get in touch soon.
UPCOMING EVENTS AND SPECIAL OFFERS
GET Monthly NEWSLETTERS