Artificial Intelligence (AI) in DJing
Transforming
Track Discovery, Mix Production, and Self-Promotion

Ok, so wether you’re aware of it or not, it’s more than likely that you’ve heard intro edits of a popular tracks before. Don’t believe me? Let’s put ourselves in a scenario we’ve all been in before.
We’re listening to the radio or a set and a song you don’t recognise comes on. But as we get into the track, you realise that it’s one you recognise. Actually it’s a track you’re quite familiar with! But what was that intro? You’ve never heard this version of the track before.
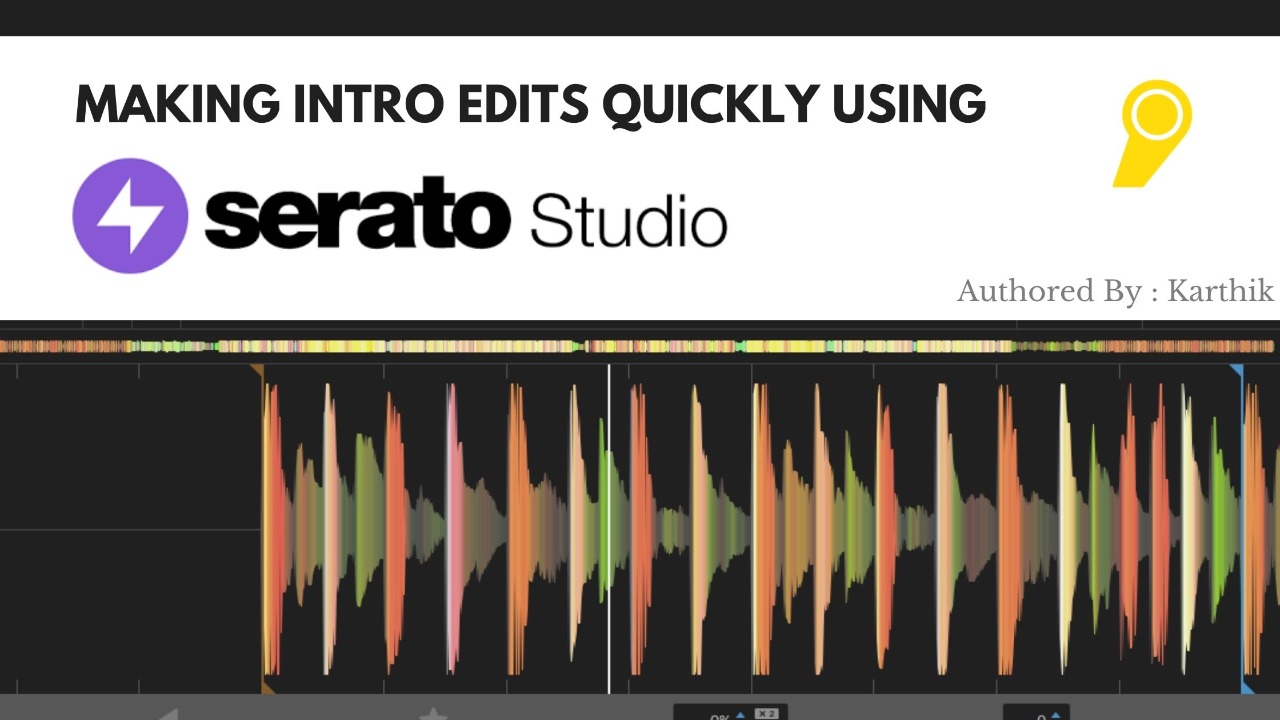
Well that’s what we’re here to talk about. In this blog we’ll cover everything you need to know about intro edits, what they are and how you can make them yourself using Serato Studio.
But before, we jump into the world of making your own edits, let’s first take a minute to ask a very fundamental question.
An intro edit adds eight to sixteen bars of a basic rhythm to the song’s start. This makes it easy to include into a mix. It’s important to have eight or sixteen bars since this allows for proper phrasing in your beat-mix. These are some of the easiest cuts to do, and you’ll find yourself using them again and again in your gigs.
Serato Studio allows you to create an intro edit in a short amount of time. So, let’s have a look at how simple it is to complete an intro edit using Serato Studio from beginning to end.
Step 1 : Select “New DJ Edit” to launch the DJ edit template after starting Serato Studio.

Step 2 : Then, at the bottom of the screen, utilize the library window to find the music for which you want to make an intro modification. Drag the music into the edit box where it reads “Drop Audio Here” once it’s been selected.

Step 3 : Serato Studio will analyze the music once the audio has been put into that window. After the music has been analyzed, make sure Serato Studio’s BPM is set to the same as the original BPM of the song you’re modifying.
Step 4 : Serato Studio will then move the “Clip One” cue point to the beginning of the song. Place this cue point at the start of the track’s first verse. Make sure the cue point is positioned exactly on the first beat of the verse by zooming in.

Step 5 : Next, listen to the song to pick a section without any vocals that isn’t too “busy” musically, meaning there aren’t a lot of production elements or instruments playing on top of the drums, preferably one to four bars long. Set the “Clip Two” cue point at this section when you’ve found it.
Step 6 : To ensure that the cue point is positioned correctly at the start of the bar, use the little triangle marking at the top of the cue point. Then, at the bottom of the cue point, use the triangle marker to choose the entire section you want to use.

Step 7 : You may now create your edit in the Song View, which is at the bottom of the screen, once you’ve set both cue points. When you load a song into Serato Studio, it will immediately add the full song to the audio track, so erase it by clicking on it and choosing delete to start over.
Step 8 : In the song view, you’ll see black and grey blocks, each of which represents one bar (or four beats). This will ensure that your intro is in the appropriate length.

Step 9 : You may now add the rest of the track after you’ve finished your eight-bar intro. You’re almost done when you click and drag Clip One to the finish of your eight-bar intro.
Step 10 : By using the play button in the song window and listening through the intro to the first verse, you may double-check your edit.

Step 11 : Go to File and select “Export Song” if you’re satisfied with the result. You’ll want to choose “Export Master” and then “WAV or MP3” as your format.

Every single time I DJ, I use intro edits. It makes beat-mixing a lot easier, and Serato Studio makes it much easier. Serato Studio is an excellent starting point if you’ve ever wanted to start making your own DJ edits.
If you’re keen to learn more tips & tricks like this one, you may be keen to check out our DJ & Music Production Courses at TheMusic’scool :

Transforming
Track Discovery, Mix Production, and Self-Promotion

Masterclass with Queen & Disco, Stalvart November 28 @ 4:00 PM – 6:00 PM Venue: Register Now

Our top 3 MIDI controller recommendations for VJs
Ready to Get Started?
Leave us your details and we’ll get in touch soon.
UPCOMING EVENTS AND SPECIAL OFFERS
GET Monthly NEWSLETTERS